3D Style Text Effect: Elevate Your Designs Without the Learning Curve
In a digital landscape saturated with visual noise, capturing attention requires more than just good copy; it demands striking visuals. This is where the 3D Style Text Effect becomes an indispensable tool for creators across the spectrum. Whether you are a seasoned graphic designer, a small business owner managing your own social media, or a blogger looking to enhance your website’s aesthetic, high-quality typography can make or break your message. The ability to transform flat text into dimensional, eye-catching elements allows for immediate impact, turning simple headlines into memorable brand assets.
However, not all text effects are created equal. Many users fall into the trap of downloading complex templates that require advanced software skills, leading to frustration and abandoned projects. A well-designed 3D text effect template solves this problem by offering a balance between professional results and user-friendly execution. By leveraging smart object technology and organized layer structures, these tools allow anyone to achieve studio-quality typography in minutes, not hours.
Why Choose a Smart Object-Based Text Template?
The primary advantage of modern 3D text templates lies in their architecture. Unlike older methods that required manual adjustments to shadows, extrusions, and lighting, contemporary templates utilize Smart Objects. This feature is a game-changer for efficiency. It means you can replace the default placeholder text with your own content, and the template automatically adjusts the dimensions, perspective, and styling to fit perfectly.
This approach eliminates the most common source of design errors: broken alignment and distorted proportions. When you simply type new text into a designated area, the underlying 3D model recalibrates itself. This ensures that your font choice does not clash with the depth or angle of the effect. For entrepreneurs and marketers who need to produce consistent branding materials quickly, this automation is crucial. It reduces the time spent on tweaking settings and increases the time available for strategic planning and content creation.
Common Pitfalls in DIY Text Design
Even with powerful tools at your disposal, mistakes can happen if you do not understand the workflow. One frequent error is ignoring the resolution of the source file. Many free or low-cost templates are designed for web use (72 DPI) but fail when printed for physical media like posters or book covers. If you attempt to scale up a low-resolution 3D text effect, you will encounter pixelation, ruining the realistic neon or metallic finish you paid for.
Another overlooked detail is the compatibility of the software version. High-quality PSD files often rely on the latest features of Adobe Photoshop. If you are using an outdated version, certain layers may not render correctly, resulting in missing shadows or flattened effects. Always check the system requirements before purchasing or downloading a template. Furthermore, some users mistakenly believe that "editable" means they can change the fundamental shape of the 3D extrusion. In many streamlined templates, the geometry is fixed to ensure consistency; only the color, texture, and text content are customizable. Understanding these boundaries prevents disappointment and helps you select the right tool for your specific project needs.
Maximizing Versatility Across Media
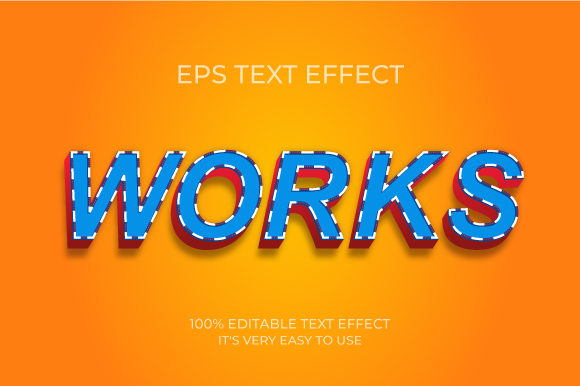
A robust 3D text effect template is versatile enough to adapt to various formats. Consider the difference in visual requirements between a website ad banner and a magazine title. A web banner needs bold, legible text that pops against a background without overwhelming the user. Here, a neon-style 3D effect with glowing edges works exceptionally well because it mimics light sources, drawing the eye naturally.
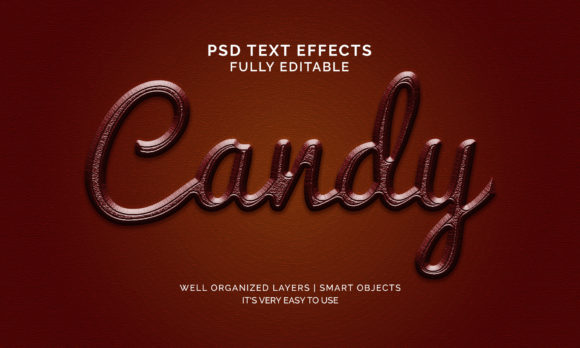
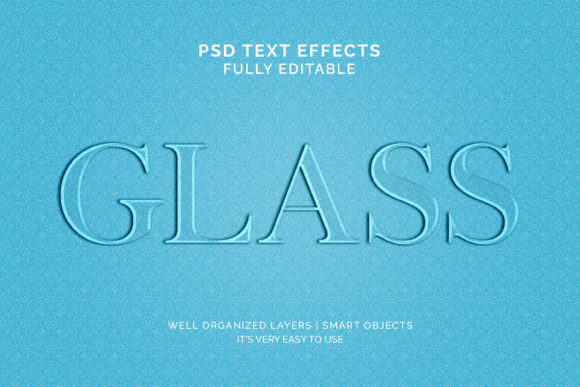
Conversely, a book cover or a corporate flyer might benefit from a more subtle, textured 3D effect that conveys premium quality. The same template can often handle both scenarios if it includes multiple style variations. Look for packages that offer different color palettes or material finishes—such as chrome, wood, or glass—within the same file structure. This versatility allows you to maintain a cohesive look across different marketing channels while tailoring the intensity of the effect to the medium. For instance, using a heavy 3D shadow on a mobile screen might cause readability issues, whereas the same effect on a large-format poster adds depth and presence.
Evaluating Quality Before You Commit
When searching for the perfect 3D text effect, quality should be your top priority. Cheap templates often suffer from poorly organized layers, making even simple edits difficult. A well-structured file groups related elements logically—for example, keeping all shadow layers together and separate from the main text body. This organization is vital for future edits. Imagine needing to update a logo next month; if the layers are scattered and unlabelled, you will spend valuable time hunting for the correct element.
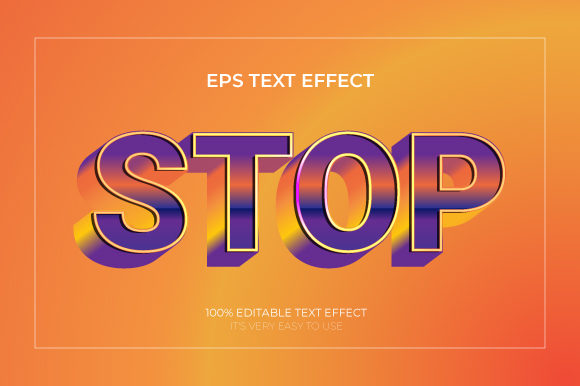
Additionally, inspect the preview images closely. Does the text look crisp? Are the gradients smooth, or do they show banding artifacts? Realistic neon effects rely on seamless color transitions. If the preview shows jagged edges, the final output will likely look amateurish. Also, verify the file types included. A comprehensive package should include both the editable PSD file for full customization and JPG previews for quick reference. Some high-end templates also provide vector shapes or additional assets that can be used independently, adding value beyond the initial purchase.
Practical Tips for Implementation
To get the best results, start by selecting a font that complements the 3D style. Bulky, sans-serif fonts generally work best for dramatic 3D extrusions because they have enough surface area to catch light and shadow. Thin, script fonts may lose their detail when extruded, resulting in a muddy appearance. Once you have chosen your font and entered your text, experiment with the lighting angles provided in the template. Adjusting the direction of the light source can completely change the mood of the design, shifting it from energetic and bright to moody and sophisticated.
Remember that less is often more. While it is tempting to add excessive glow or reflection effects, subtlety usually yields a more professional outcome. Use the template’s built-in adjustment layers to fine-tune opacity and blend modes rather than adding new effects manually. This keeps your file clean and ensures that the original artist’s intent is preserved. By respecting the template’s structure and focusing on clear communication, you create designs that not only look impressive but also effectively convey your message.
Conclusion
The 3D Style Text Effect offers a powerful way to elevate your visual content without requiring extensive technical expertise. By choosing templates that prioritize smart object functionality, organized layers, and high-quality rendering, you can avoid common pitfalls and produce professional results efficiently. Whether you are designing a flyer, updating a website banner, or creating a unique logo, investing in a reliable, customizable text effect template pays off in both time saved and visual impact. Take the time to evaluate options based on usability and quality, and you will find that achieving stunning 3D typography is easier than you thought.