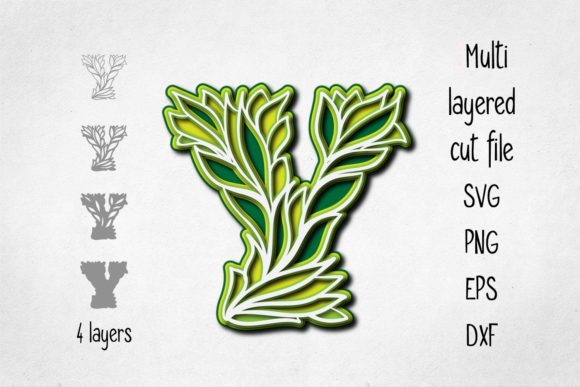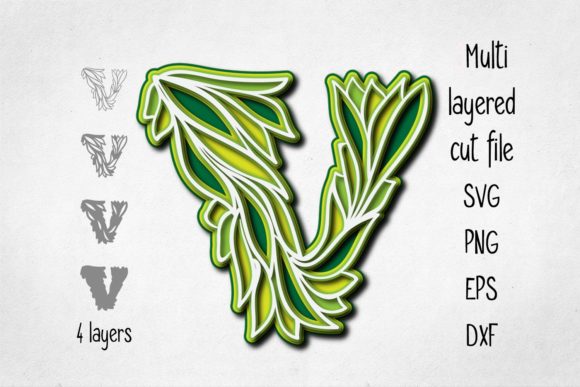
3D Layered Alphabet Letter V
Creating personalized home decor or unique gifts has never been more accessible, yet the difference between a project that looks professionally crafted and one that appears amateurish often comes down to material selection and structural understanding. The 3D Layered Alphabet Letter V is a versatile digital design intended for crafters, small business owners, and hobbyists who want to produce high-impact visual statements. Whether you are looking to add a monogrammed accent to a nursery wall, create custom signage for a boutique shop, or simply enjoy a rewarding weekend crafting session, this specific letterform offers significant creative flexibility. However, to achieve the desired aesthetic, it is crucial to understand how layering, material thickness, and file compatibility interact. Many creators overlook these technical nuances, resulting in projects that lack depth or fail to cut cleanly.
Understanding the Design and Material Versatility
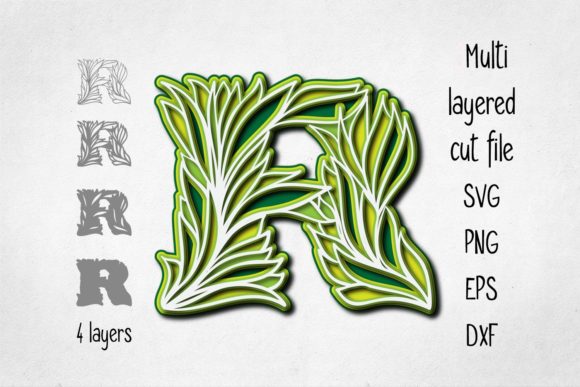
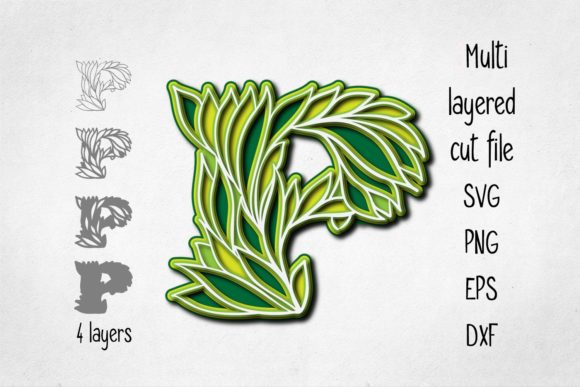
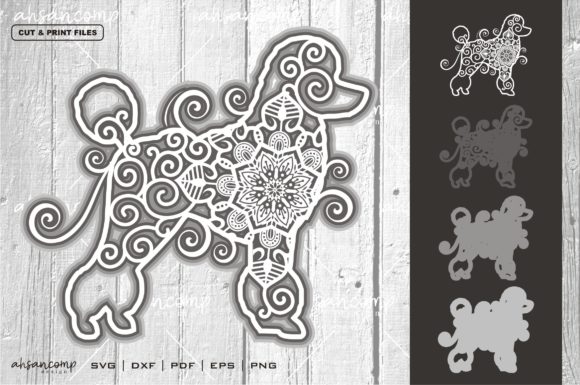
The core appeal of this design lies in its modularity. The letter "V" is constructed from several distinct layers that, when stacked, create a sense of depth and dimension. This structure allows for extensive customization. You are not limited to using all available layers; reducing the number of layers can simplify the cutting process while still maintaining a recognizable form. Furthermore, the color palette is entirely up to your discretion. By selecting contrasting colors for each layer, you can enhance the three-dimensional effect, making the letter pop against any background.
The materials you choose will dictate the final look and feel of your project. For a clean, modern aesthetic with a flat appearance, consider using card stock, vinyl, or standard paper. In this scenario, the layers are typically placed directly adjacent to one another without gaps. Conversely, if you aim for a pronounced 3D effect, you must leave intentional space between the layers. This spacing creates shadows and highlights that give the object volume. Materials such as wood, plastic, plywood, MDF (Medium-Density Fiberboard), and similar substrates are ideal for this approach because their inherent thickness contributes to the dimensional quality even before stacking begins. These materials require robust cutting tools, such as laser cutters or heavy-duty CNC machines, to ensure crisp edges.
Size Considerations and Structural Integrity
One of the most common pitfalls in layered letter projects is ignoring scale. The provided design for the 3D Layered Alphabet Letter V is specified to be over 8 inches (approximately 20 cm) tall. This size is generally large enough to showcase the layering details effectively. However, you may wish to resize the design to fit specific spaces or product lines. While scaling up is usually straightforward, scaling down requires careful attention to detail.
When reducing the dimensions of the design, thin elements within the vector paths can become problematic. If the layers are too narrow relative to the cutting tool’s kerf (the width of the cut), the delicate parts of the letter may break during removal or fail to hold together structurally. Before committing to a smaller size, evaluate the thinnest lines in the SVG or DXF file. If these elements are less than 0.1 inches wide, they may not survive the cutting process, especially on brittle materials like chipboard or thick cardstock. It is often better to keep the design at its original scale or only reduce it slightly, ensuring that the structural integrity remains intact.
File Formats and Machine Compatibility
Purchasing or downloading a digital craft file is only the first step; ensuring your equipment can read and execute the design is equally important. You will receive a ZIP folder containing four distinct file formats: an SVG, a PNG, an EPS, and a DXF. Each serves a different purpose and requires specific software or hardware.
- SVG (Scalable Vector Graphics): This is the most popular format for digital cutting machines like Cricut and Silhouette. It contains all the layers in a single file, allowing you to easily separate them in your cutting software for multi-pass cuts or color changes.
- PNG: This raster image features a transparent background and is exported at 300 dpi. It is useful for printing purposes or for visualizing the design in graphic design software, but it cannot be used directly for cutting.
- EPS (Encapsulated PostScript): Often used in professional graphic design workflows, this vector format is compatible with Adobe Illustrator and other advanced design programs. It ensures high-quality editing capabilities.
- DXF (Drawing Exchange Format): Widely supported by laser cutters and CNC routers, this format is essential for users working with industrial or semi-industrial machinery. It provides precise coordinate data for accurate cutting.
Before starting your project, verify that your machine is compatible with at least one of these formats. Using the wrong file type can lead to errors in registration, misaligned layers, or complete failure to cut. For instance, trying to load an SVG into a basic laser cutter interface that only accepts DXF or HPGL files will result in a wasted material run.
Avoiding Common Mistakes in Assembly
Even with the perfect files and materials, assembly errors can ruin a project. A frequent mistake is assuming that all layers should be glued simultaneously. When working with thicker materials like MDF or acrylic, glue can take time to set, causing layers to shift out of alignment. To prevent this, use temporary adhesives, such as spray adhesive or painter's tape, to hold layers in place while you work. Another error is neglecting to deburr or sand the edges of cut materials. Rough edges can detract from the polished look of a 3D letter, especially when light catches the side profiles. Taking the extra time to smooth the edges significantly elevates the final presentation.
Additionally, consider the mounting method. If you are creating wall decor, ensure that the back of the layered letter is flat enough to sit securely against the wall, or plan for spacers that will allow the letter to protrude appropriately. Failing to account for mounting hardware can lead to unstable installations or unsightly gaps behind the artwork.
Final Recommendations for Success
To maximize the potential of the 3D Layered Alphabet Letter V, start with a test cut using inexpensive material like cardstock or foam board. This allows you to check the alignment of layers, the clarity of thin elements, and the overall balance of the design. Experiment with different color combinations to see which contrast levels work best for your intended environment. Remember that creativity thrives within constraints; by respecting the technical limitations of your materials and tools, you can produce stunning results that serve as excellent home decor, memorable gifts, or valuable additions to your creative portfolio. Always double-check your file compatibility and machine settings before beginning the final production run to save time and resources.