Unveiling the Depth: How Christmas Tree 3D Layered Cut Files Transform Holiday Decor
The holiday season is synonymous with warmth, nostalgia, and the unmistakable scent of pine. For decades, the centerpiece of this celebration has been the traditional evergreen tree. But in recent years, a new trend has emerged among DIY enthusiasts, crafters, and interior designers who crave a blend of modern aesthetics and timeless tradition: the Christmas Tree 3D Layered Cut Files. These digital assets are not just static images; they are blueprints for creating dimensional, visually striking decorations that add depth and sophistication to any home or commercial space.
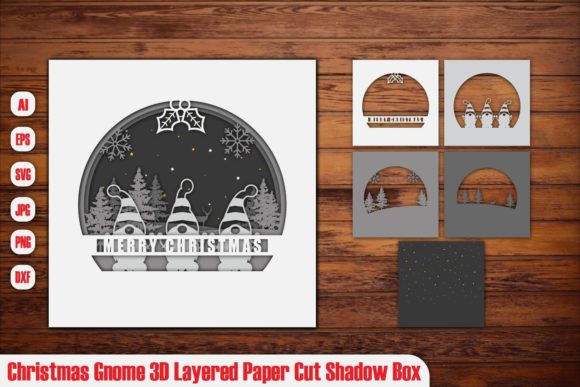
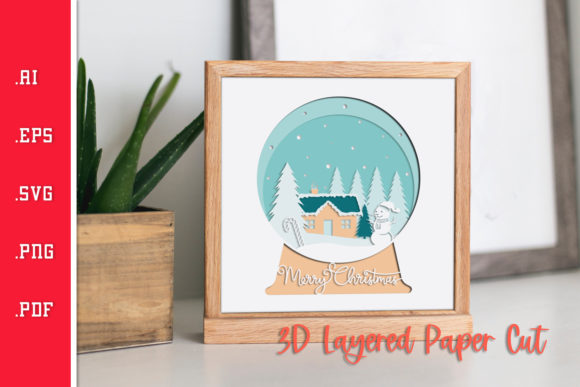
Unlike flat cutouts that sit flush against a wall or lie on a table, 3D layered designs utilize multiple sheets of material stacked at varying distances from one another. This technique creates shadows, perspective, and a sense of volume that transforms a simple silhouette into a dynamic piece of art. Whether you are looking to revitalize your living room decor or create custom signage for a boutique shop, understanding how these files work and how to implement them can elevate your crafting projects significantly.
The Anatomy of a Digital Craft Asset
Before diving into the cutting process, it is essential to understand what exactly you are purchasing and receiving. When you acquire a set of Christmas Tree 3D Layered Cut Files, you are not buying a physical product but rather a versatile digital toolkit designed for precision manufacturing. The quality and format of these files dictate the ease of use and the final outcome of your project.
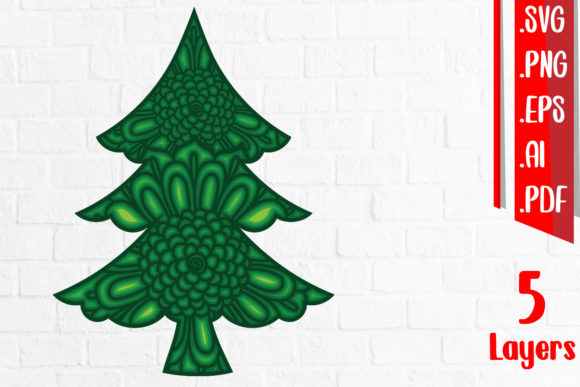
Most comprehensive packages are delivered as an instant digital download, allowing you to start your project immediately without waiting for shipping. This convenience is particularly valuable during the busy holiday season when time is of the essence. Furthermore, to ensure compatibility with a wide range of software and hardware, these files are typically provided in a versatile zip file containing multiple formats:
- SVG (Scalable Vector Graphics): The gold standard for most cutting machines like Cricut and Silhouette. SVGs are vector-based, meaning they can be resized infinitely without losing quality, which is crucial when scaling up from small ornaments to large wall art.
- EPS (Encapsulated PostScript): A widely supported vector format used in professional design software like Adobe Illustrator and CorelDRAW. It offers high compatibility for complex layering instructions.
- AI (Adobe Illustrator Artwork): Native files for users who need full editing capabilities within the Adobe ecosystem, allowing for color changes, minor adjustments, and font modifications.
- PDF (Portable Document Format): Useful for viewing print-ready layouts and often includes guide lines or separation layers that help organize the stacking order of your materials.
- PNG (Portable Network Graphics): Raster images included for reference or for those using laser engravers that require bitmap input, though less ideal for precise cutting edges compared to vector formats.
Having access to all these formats ensures that whether you are a casual hobbyist with a desktop cutter or a professional fabricator with industrial-grade equipment, you have the right tool for the job.
Material Matters: Choosing the Right Substrate
The magic of 3D layered designs lies in the contrast between layers. To achieve a clean, professional look, selecting the appropriate material is just as important as the design itself. The recommended materials for these projects include Plywood, MDF, Plexiglas, Metal, and Acrylic. Each brings a unique texture and finish to the final piece.
Natural Wood Tones: Plywood and MDF
Plywood is perhaps the most popular choice for Christmas tree layered cuts. Its natural grain adds organic warmth that complements traditional holiday colors like red, green, and gold. Birch plywood, in particular, offers a smooth surface that lasers beautifully, producing crisp edges without excessive charring. MDF (Medium Density Fiberboard) is another excellent option, especially for painted finishes. Because MDF lacks grain, it provides a uniform canvas that takes paint evenly, making it ideal if you want to match specific brand colors or create a monochromatic scheme.
Modern Elegance: Acrylic and Plexiglas
If you are aiming for a contemporary, sleek aesthetic, Acrylic or Plexiglas is the way to go. Clear acrylic allows light to pass through, creating stunning effects when paired with LED string lights behind the layers. Colored acrylics—such as deep emerald green, ruby red, or shimmering silver—add a vibrant pop of color that looks sophisticated and modern. Note that acrylic requires different laser settings than wood to prevent melting or cracking, so adjusting your machine’s power and speed is critical.
Industrial Chic: Metal
For a rugged, industrial vibe, thin sheet Metal (such as aluminum or steel) can be used. Laser-cut metal layers reflect light differently than wood or plastic, adding a metallic sheen that catches the eye. This option is durable and long-lasting, perfect for heirloom-quality decorations that can be stored and reused year after year without warping.
Workflow Integration: From File to Finished Product
Integrating Christmas Tree 3D Layered Cut Files into your workflow requires a methodical approach. Since these designs rely on precise alignment to create the 3D effect, preparation is key. Here is a practical breakdown of how to approach your project:
- Software Preparation: Open the SVG or AI file in your preferred design software. Carefully inspect the layers. Most layered designs group elements by depth. You will need to separate these groups so that each "layer" of the tree corresponds to a separate cut.
- Material Selection and Sizing: Determine the maximum size you want your decoration to be. Ensure your material sheets are large enough to accommodate the largest layer plus any necessary margins for handling. If you are mixing materials (e.g., wood base with acrylic accents), plan your layout to minimize waste.
- Machine Setup: Load your material into your cutting machine. If using a laser cutter, adjust the focus and power settings according to the material type. For CNC routers, select the appropriate bit size to match the intricate details of the design.
- Cutting Process: Run the cuts sequentially. It is often helpful to keep the pieces in their original grid arrangement until all cuts are complete to avoid confusion about which piece belongs where.
- Assembly: This is the most rewarding step. Using spacers (which may be included in the design as small tabs or added separately), stack the layers. Start from the back (largest layer) and work forward. Use strong adhesive suitable for your material, such as hot glue for wood and acrylic, or epoxy for metal. Align the centers carefully to ensure the tree stands straight.
Design Versatility and Creative Applications
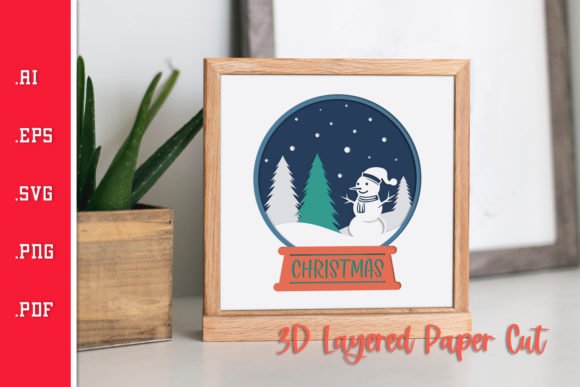
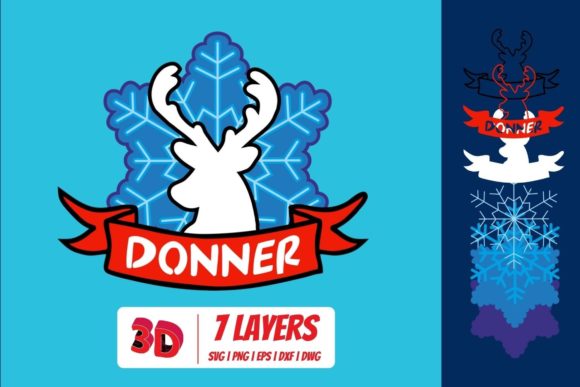
One of the greatest advantages of these digital files is their adaptability. While the primary motif is a Christmas tree, the layered technique can be applied to various holiday themes. You might find variations featuring snowflakes, reindeer, or wreaths within the same file package, allowing you to coordinate your entire holiday display.
Consider the placement. A large 3D layered tree mounted on a fireplace mantel serves as a stunning focal point. Smaller versions can be hung on walls as minimalist art. For businesses, these files are perfect for creating branded window decals or lobby displays that stand out from generic store-bought decorations. The ability to customize the scale means you can fit the design perfectly into any spatial constraint, from a cozy apartment corner to a grand hotel atrium.
Practical Considerations for Success
While the process is straightforward, there are common pitfalls to avoid. First, always do a test cut on scrap material before committing to your final piece. This helps verify that the laser or router settings are correct and that the layer spacing is visible enough to create the desired 3D effect. Second, pay attention to the grain direction if using wood. Cutting across the grain vs. with the grain can affect how cleanly the edges burn or cut.
Additionally, consider the lighting. 3D layered designs interact dynamically with light. Positioning your finished tree near a window or under directed spotlights can enhance the shadow play between layers, adding depth and drama to the visual experience. For acrylic trees, backlighting with LEDs can turn the decoration into a glowing beacon of holiday cheer.
In conclusion, Christmas Tree 3D Layered Cut Files offer more than just a crafting activity; they provide a pathway to creating personalized, high-end decor that reflects individual style. With the right tools, materials, and attention to detail, anyone can transform a simple digital download into a magnificent three-dimensional masterpiece. As the demand for unique, handmade items continues to grow, mastering these techniques empowers creators to produce work that is both technically impressive and emotionally resonant, ensuring your holiday decorations remain memorable for years to come.